

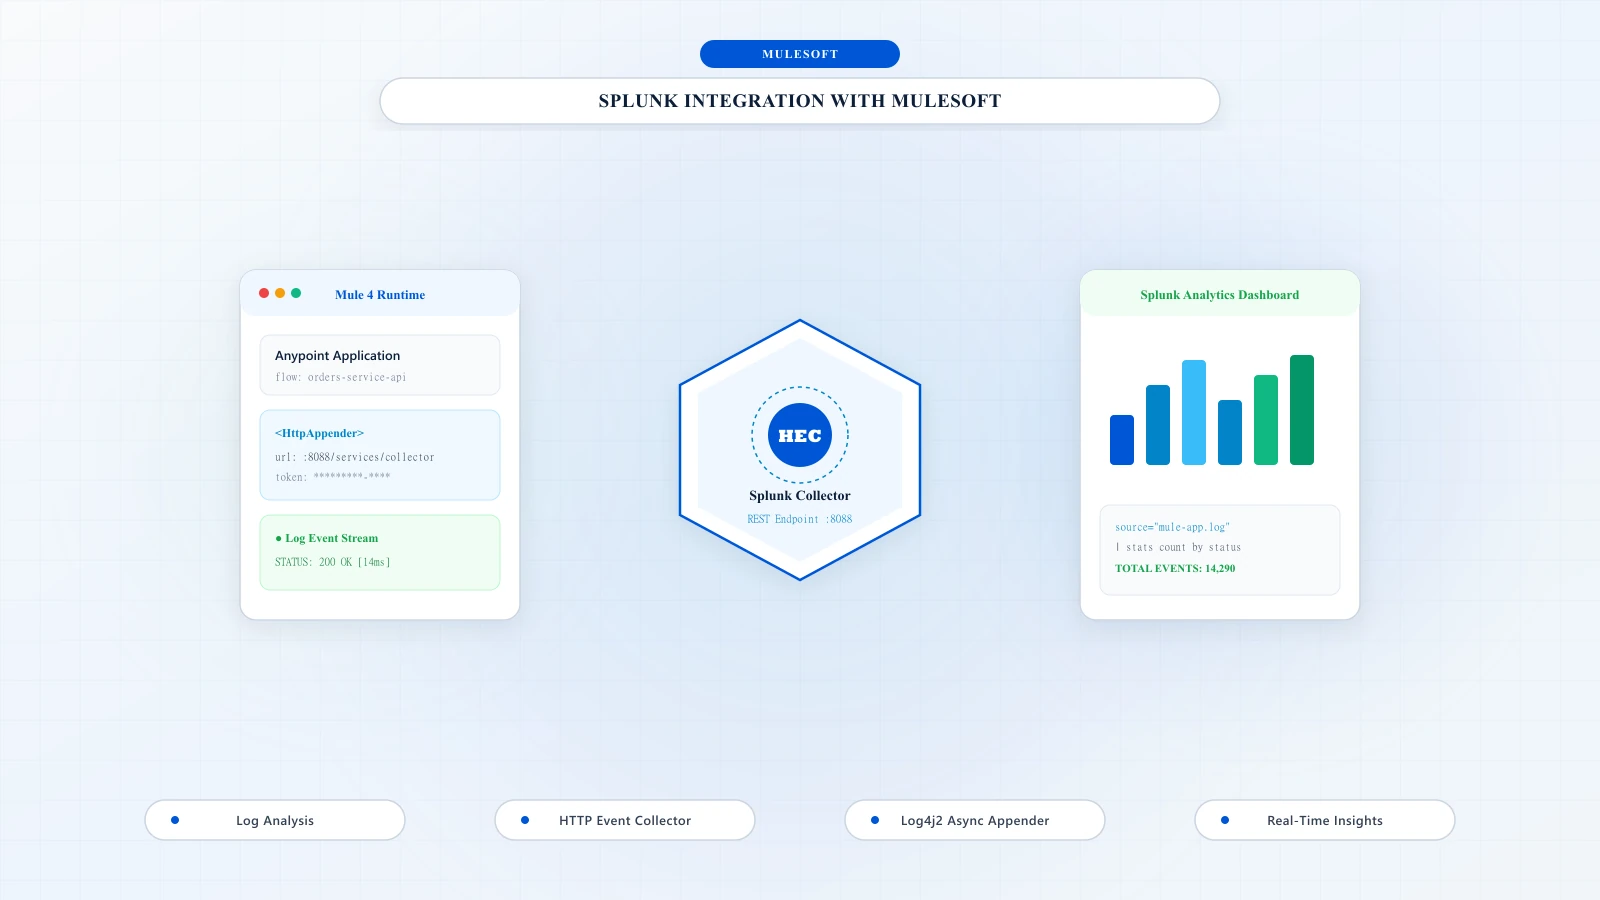
In this blog, first we are going to see how to configure Mule Runtime with third-party software to analyse logs. The third-party tool we are going to discuss that is Splunk.
Logging is an essential part of monitoring and troubleshooting issues and any production errors or visualizing the data.
MuleSoft provides its logging mechanism for storing application logs. Although CloudHub has a limitation of 100 MB of logs or 30 days of logs.
Configure Splunk Token
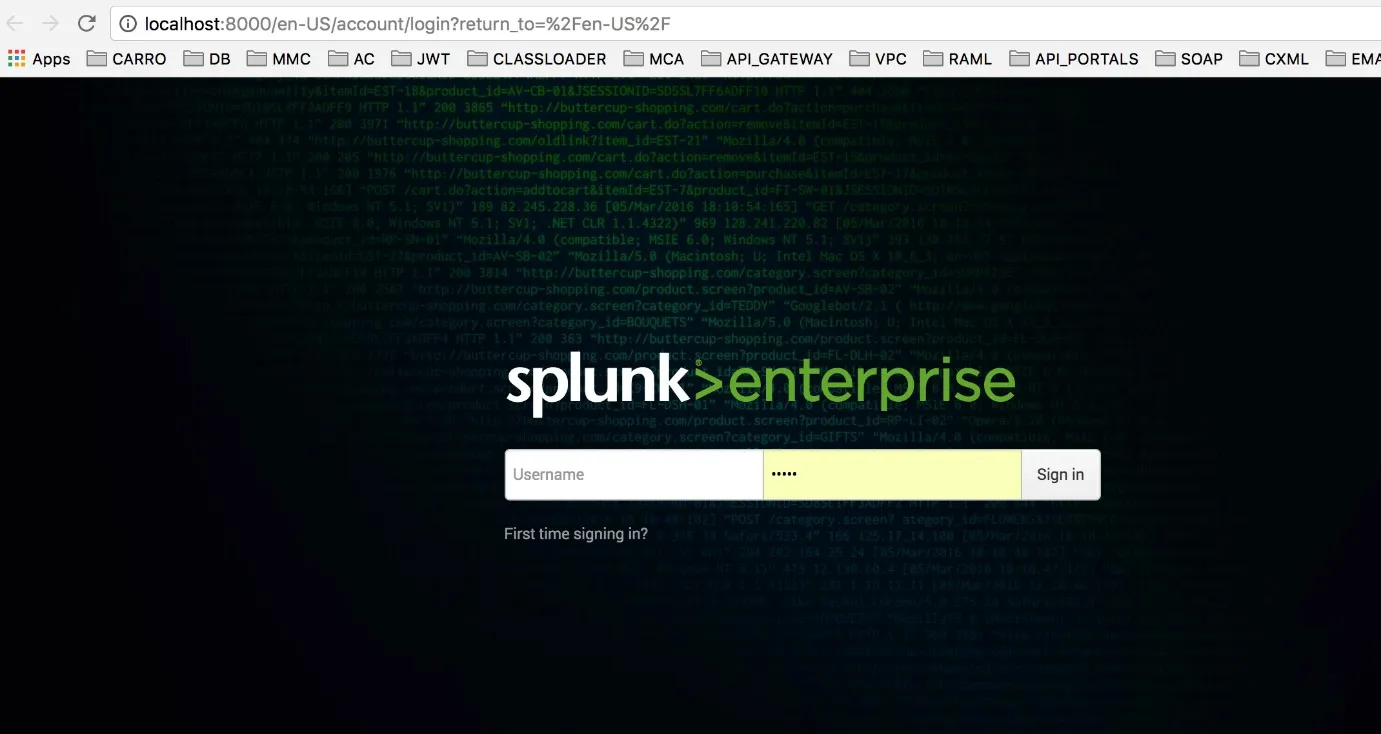
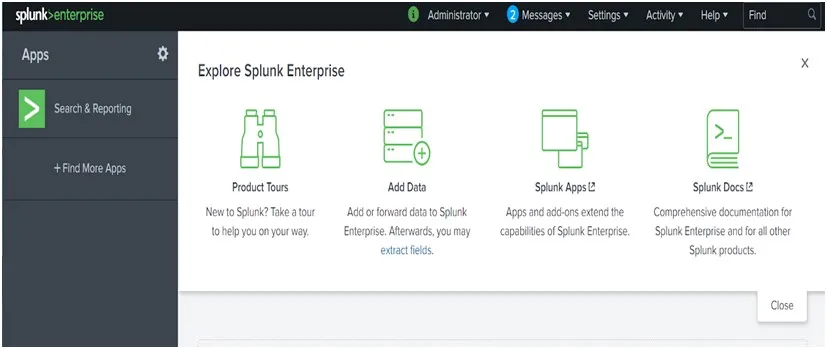
After installing Splunk, run it. It will ask you to provide your credentials, as shown below.
Now, we need to create a token in Splunk.
1. Go to Settings > Data > Data Inputs
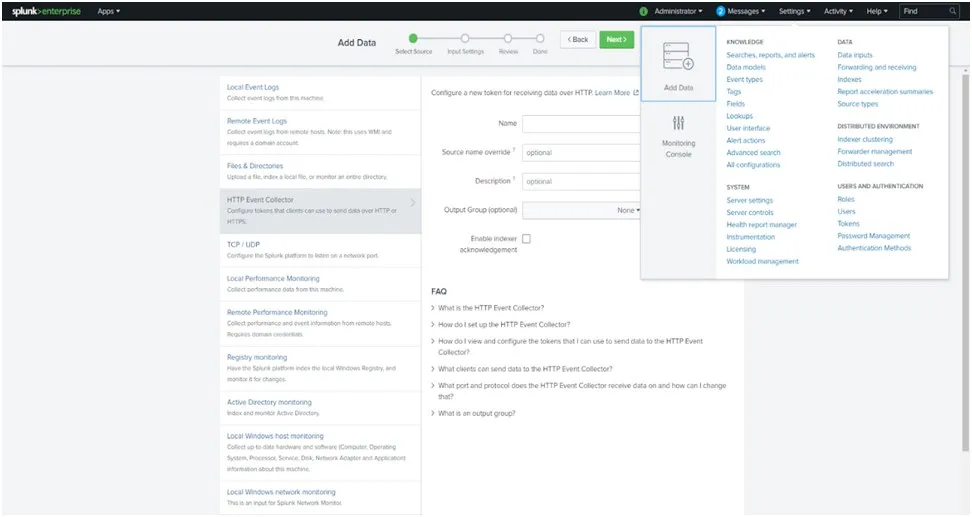
2. Now create a token using all the default values
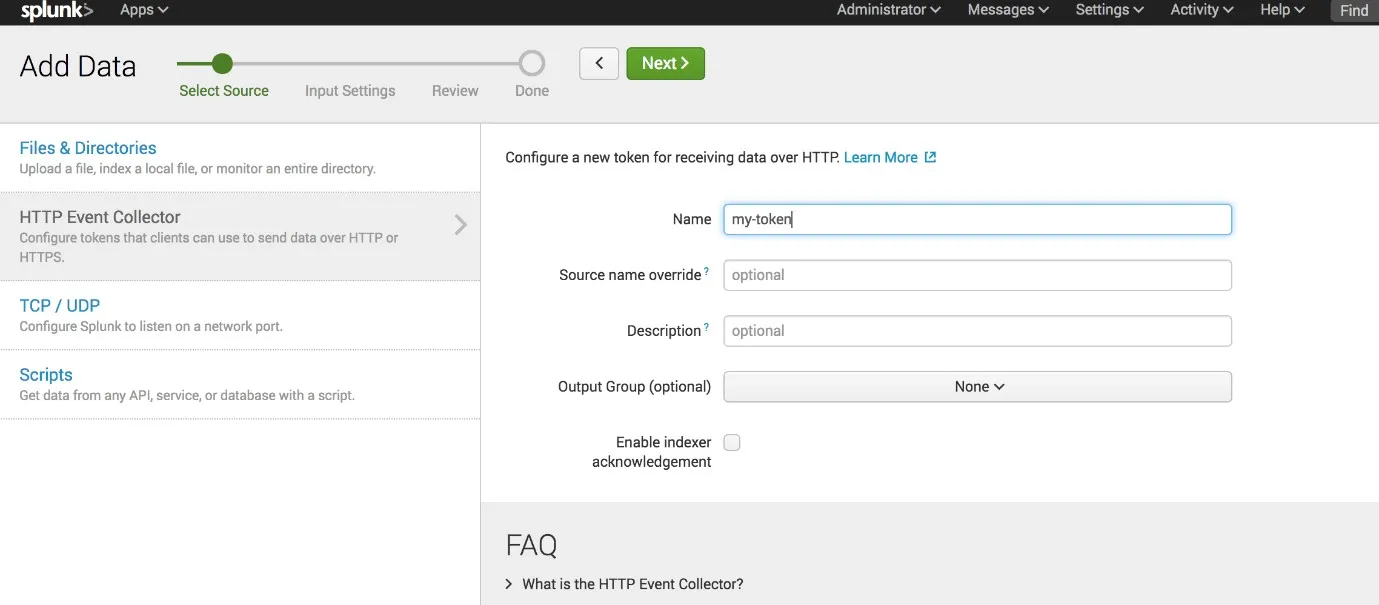
3. Complete all the steps, and you will get the token value. The token value will be used to connect to Splunk from the log4j file in the MuleSoft application. Next Steps will involve configuring the HTTP Appender in the log4j file to connect to Splunk
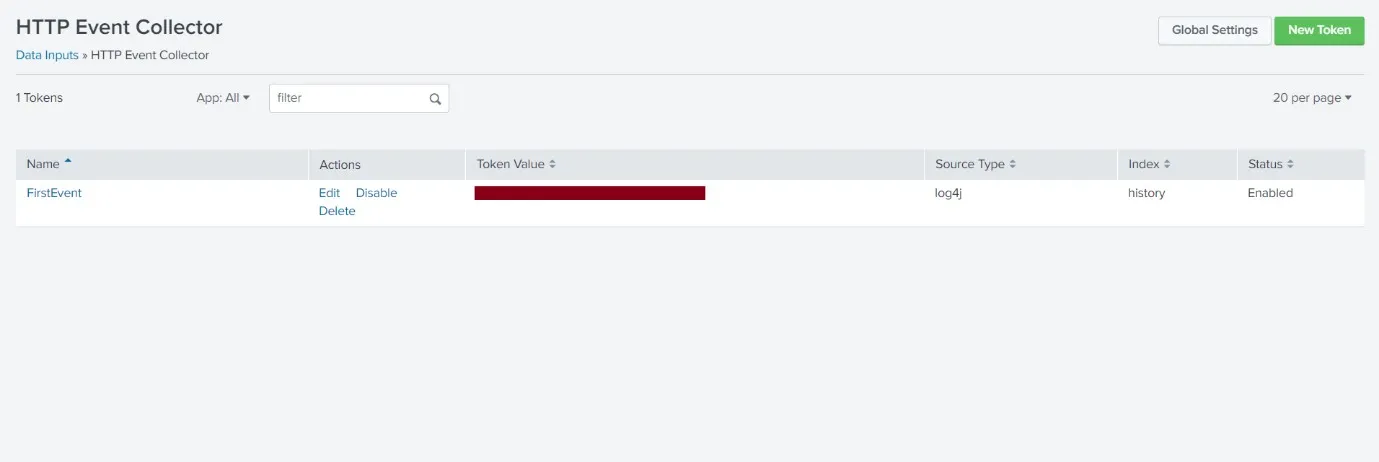
4. Once you have created the token, make sure to enable the token by going to global settings. You can also enable SSL for this token and set the port. By the default the value is “8088”

5. Add the following snippet in the log4j2.xml in the mule application
<"text-amber-300">class="text-sky-400 font-semibold">Http "text-amber-300">name="Splunk" "text-amber-300">url="http://host:port/services/collector/raw">
    <"text-amber-300">class="text-sky-400 font-semibold">Property "text-amber-300">name="Authorization" "text-amber-300">value="Splunk {{Token-Value}}"></"text-amber-300">class="text-sky-400 font-semibold">Property>
    <"text-amber-300">class="text-sky-400 font-semibold">PatternLayout "text-amber-300">pattern="%m%n"></"text-amber-300">class="text-sky-400 font-semibold">PatternLayout>
    "text-amber-300">class="text-slate-400 italic"><!--<"text-amber-300">class="text-sky-400 font-semibold">TrustStore "text-amber-300">location="<class="text-sky-400 font-semibold">path to trustore>" "text-amber-300">password="<class="text-sky-400 font-semibold">truststore-password>"/> -->
</"text-amber-300">class="text-sky-400 font-semibold">Http>
and add this reference in Async Root
<"text-amber-300">class="text-sky-400 font-semibold">AppenderRef ref = "Splunk"/>6. Add dependencies in pom.xml
1. Add the following dependencies in your pom.xml dependencies section for Splunk.
<"text-amber-300">class="text-sky-400 font-semibold">dependency>
    <"text-amber-300">class="text-sky-400 font-semibold">groupId>com.splunk.logging</"text-amber-300">class="text-sky-400 font-semibold">groupId>
    <"text-amber-300">class="text-sky-400 font-semibold">artifactId>splunk-library-javalogging</"text-amber-300">class="text-sky-400 font-semibold">artifactId>
    <"text-amber-300">class="text-sky-400 font-semibold">version>1.7.1</"text-amber-300">class="text-sky-400 font-semibold">version>
</"text-amber-300">class="text-sky-400 font-semibold">dependency>
<"text-amber-300">class="text-sky-400 font-semibold">dependency>
    <"text-amber-300">class="text-sky-400 font-semibold">groupId>org.apache.logging.log4j</"text-amber-300">class="text-sky-400 font-semibold">groupId>
    <"text-amber-300">class="text-sky-400 font-semibold">artifactId>log4j-core</"text-amber-300">class="text-sky-400 font-semibold">artifactId>
    <"text-amber-300">class="text-sky-400 font-semibold">version>2.10.0</"text-amber-300">class="text-sky-400 font-semibold">version>
</"text-amber-300">class="text-sky-400 font-semibold">dependency>
<"text-amber-300">class="text-sky-400 font-semibold">dependency>
    <"text-amber-300">class="text-sky-400 font-semibold">groupId>org.apache.logging.log4j</"text-amber-300">class="text-sky-400 font-semibold">groupId>
    <"text-amber-300">class="text-sky-400 font-semibold">artifactId>log4j-api</"text-amber-300">class="text-sky-400 font-semibold">artifactId>
    <"text-amber-300">class="text-sky-400 font-semibold">version>2.10.0</"text-amber-300">class="text-sky-400 font-semibold">version>
</"text-amber-300">class="text-sky-400 font-semibold">dependency>
2. Add following repository in the repositories tag of pom.xml
<"text-amber-300">class="text-sky-400 font-semibold">repository>
    <"text-amber-300">class="text-sky-400 font-semibold">id>splunk-artifactory</"text-amber-300">class="text-sky-400 font-semibold">id>
    <"text-amber-300">class="text-sky-400 font-semibold">name>Splunk Releases</"text-amber-300">class="text-sky-400 font-semibold">name>
    <"text-amber-300">class="text-sky-400 font-semibold">url>https://splunk.jfrog.io/splunk/ext-releases-local</"text-amber-300">class="text-sky-400 font-semibold">url>
</"text-amber-300">class="text-sky-400 font-semibold">repository>
7. Once all the above configurations are done your application is ready to send logs to Splunk. Deploy your application and make a call to it .whatever logs you can see in console are also send to Splunk(logs are send depending upon your config in log4j).you can decide based on your requirement which logs you want to print in console and which you want to send to Splunk
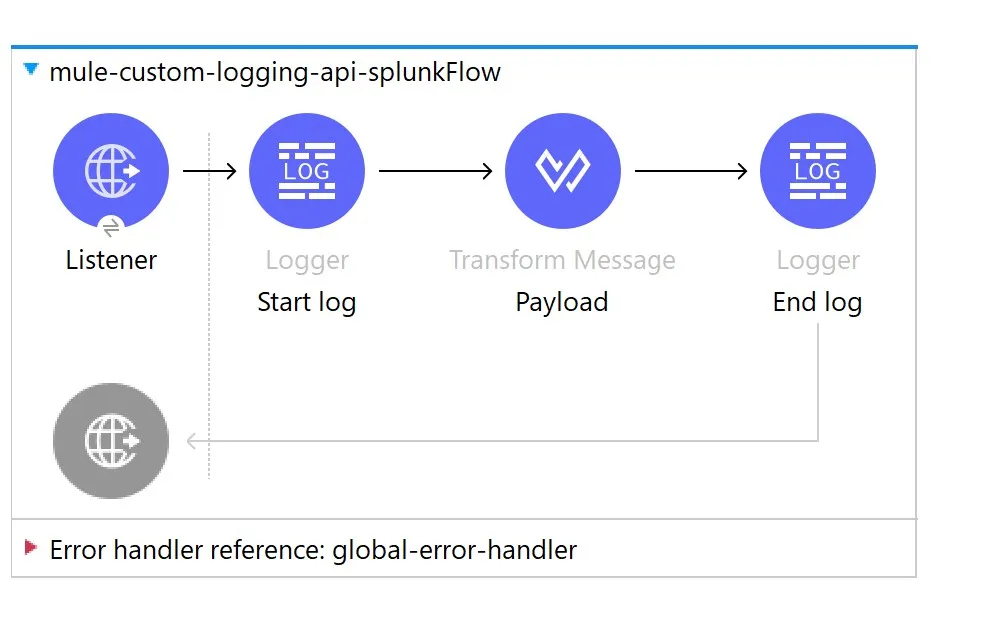
8. Here is a snippet for the application that will be sending logs to Splunk
9. To check that, click on the “Search and Monitoring” option.
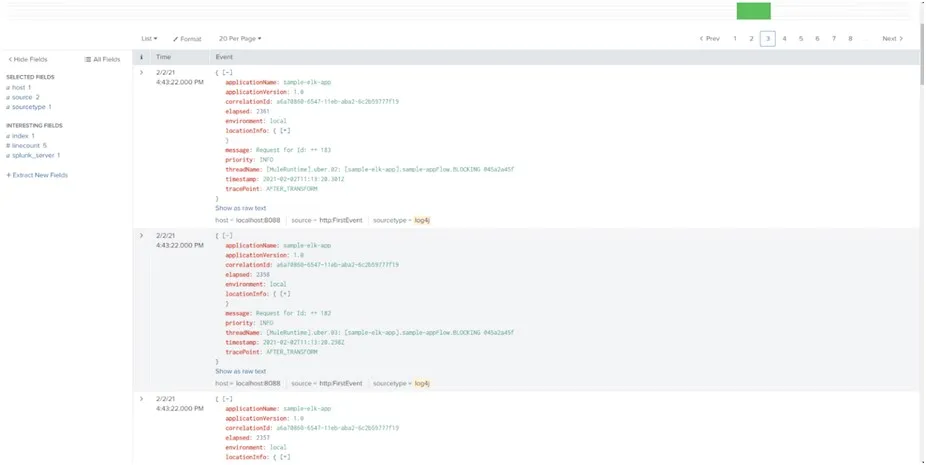
10. After that, click on “Data Summary” and click on “Source Types” and search for Log4j and select log4j.

11. On selecting that, you can see the logs being pushed to Splunk
“Thank you for taking out time to read the above post. Hope you found it useful. In case of any questions, feel free to comment below. Also, if you are keen on knowing about a specific topic, happy to explore your recommendations as well.”