
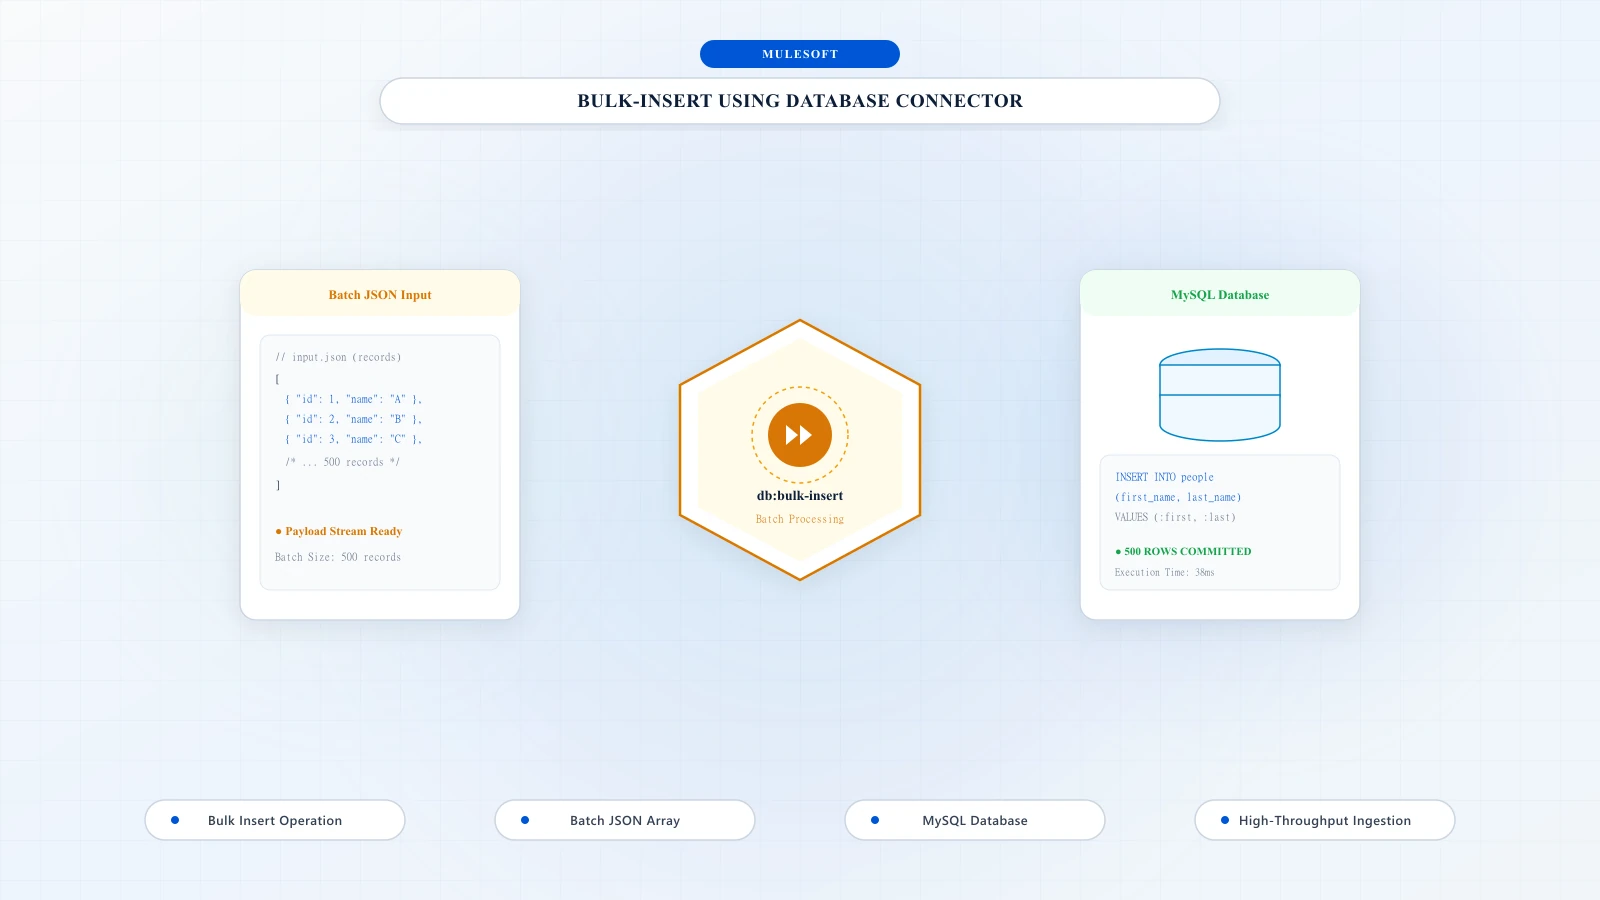
In this article, I will explain how to implement the bulk insert operation in the Mule 4 Database Connector. For instance, we have a json Input payload that contains a list of people. Our interface will read that input file and insert the person data to a mySQL Database Table using Bulk Insert.
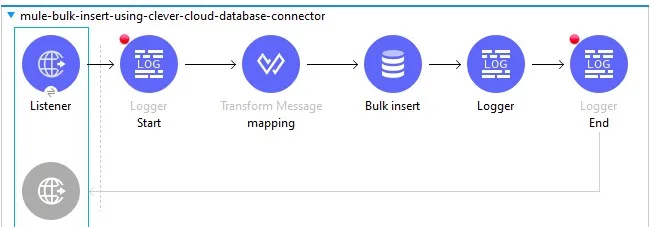
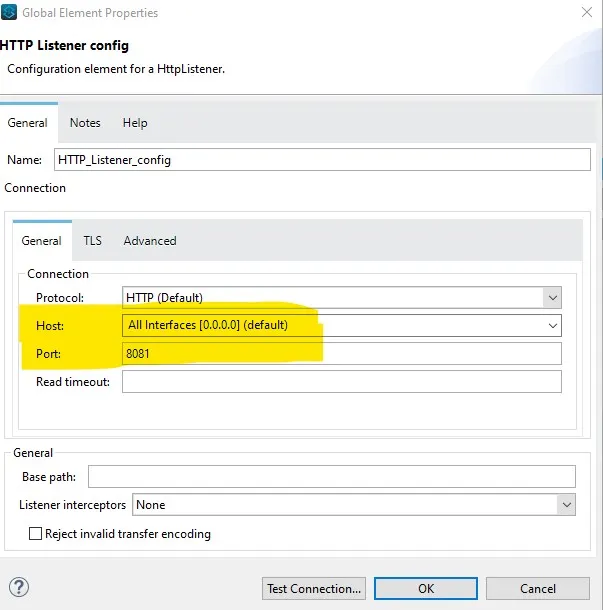
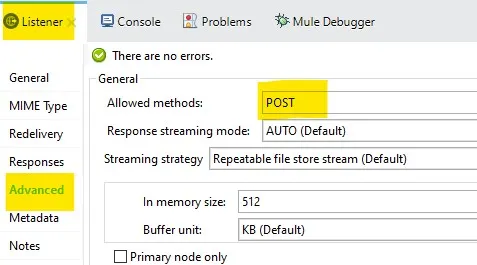
1HTTP Listener configuration:
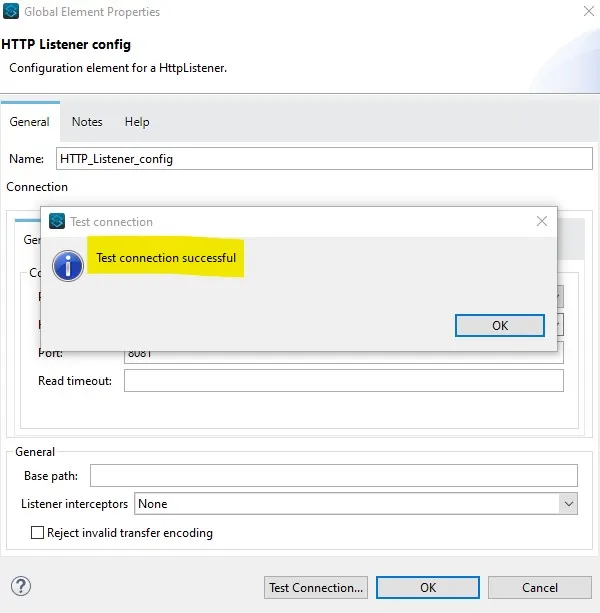
Go to Global elements->create->select the HTTP LISTNER

2Transform Message(Dataweave 2.0)
Transform Message(Dataweave 2.0): This component will transform the CSV Data into a JSON format. The field name in the Dataweave will be the parameter name in our Database Connector Insert Query.

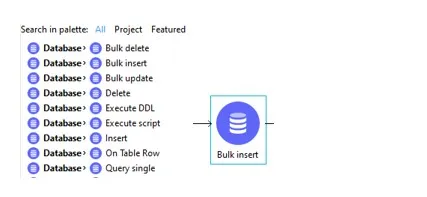
3Database Connector (Bulk Insert)
Database Connector (Bulk Insert): This Database Connector will execute the Bulk Insert Operation with the parameters from the payload(application/json).
4Setup-Database in clever-cloud:
- Use this link to signup clever-cloud: https://www.clever-cloud.com/

- Provide all the required details and login to the clever-cloud
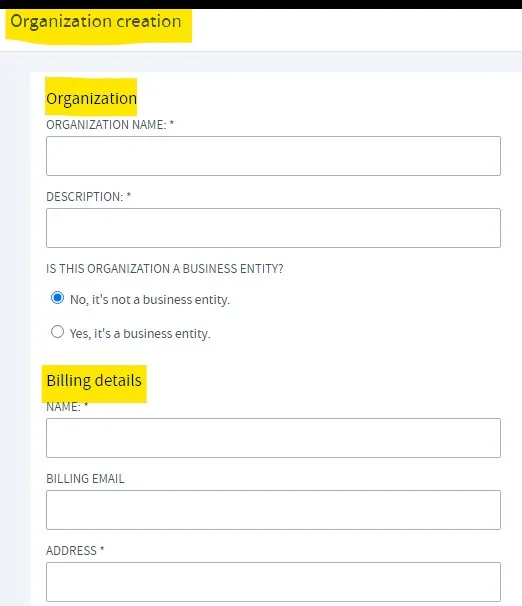
- Create your organization:
- Create an add-on:

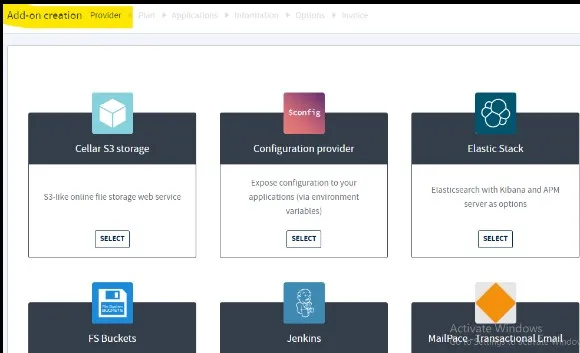
- Select the Add-on according to your requirements ,here am adding mysql add-on

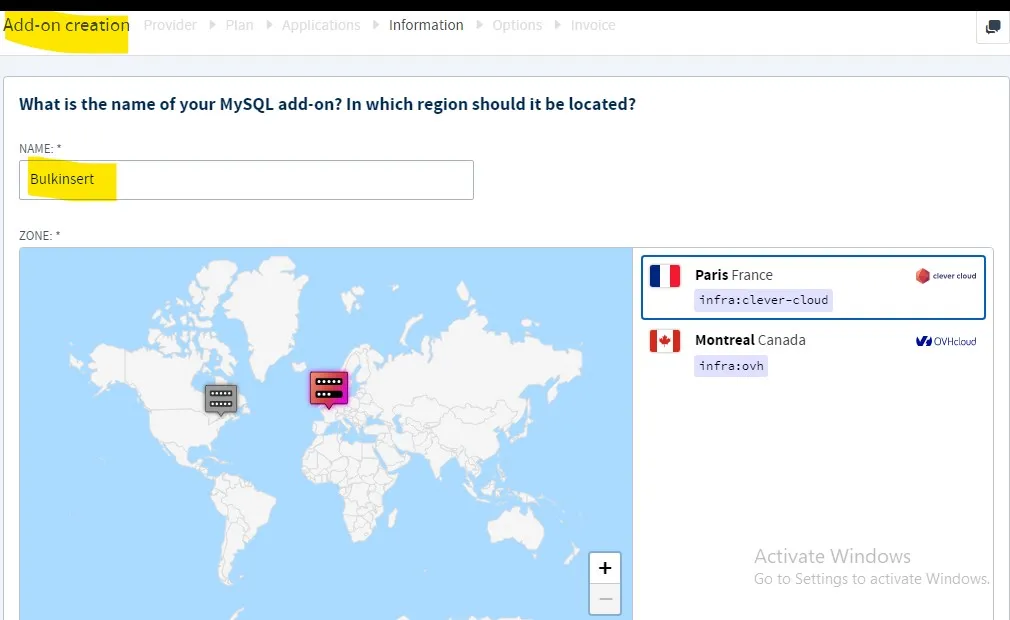
- Provide the name of your mysql add-on
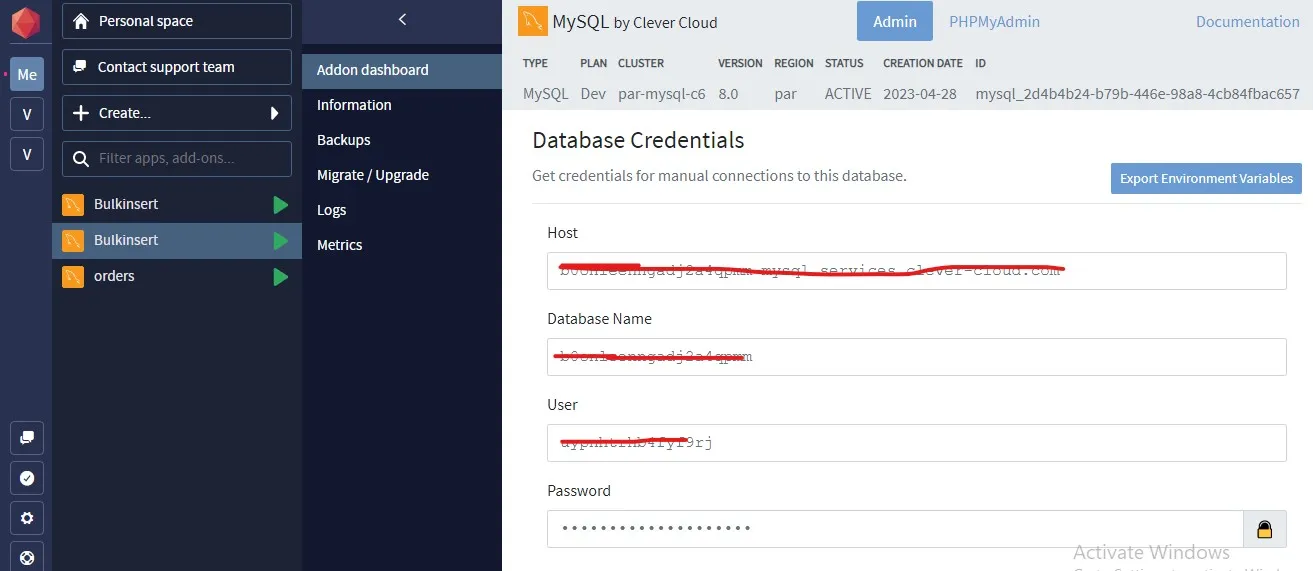
Save the configuration details of Your ad-on
5Database Configuration in Anypoint Studio & phpMyAdmin
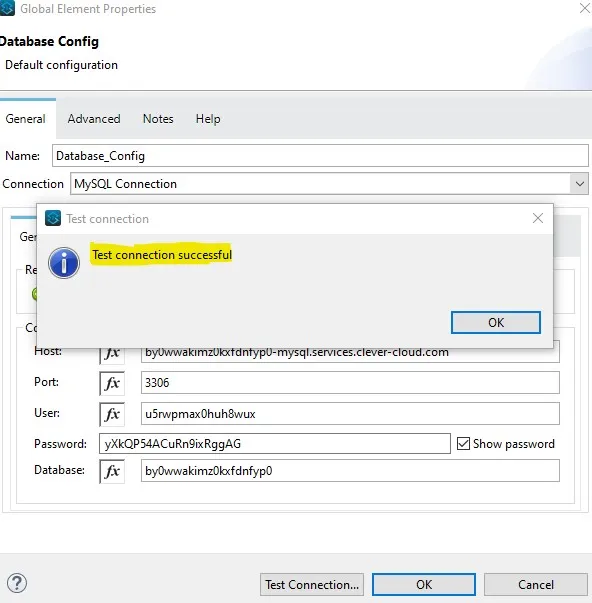
- Database configuration:
By using your addon database configuration details configure the database in Any point studio

- Click on phpmyadmin to create your database in clever-cloud
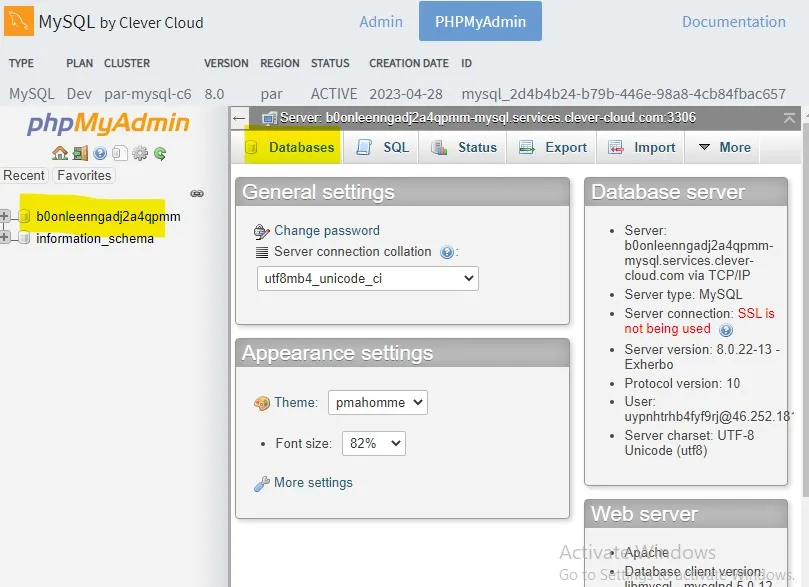
- Create table in clever-cloud Database :

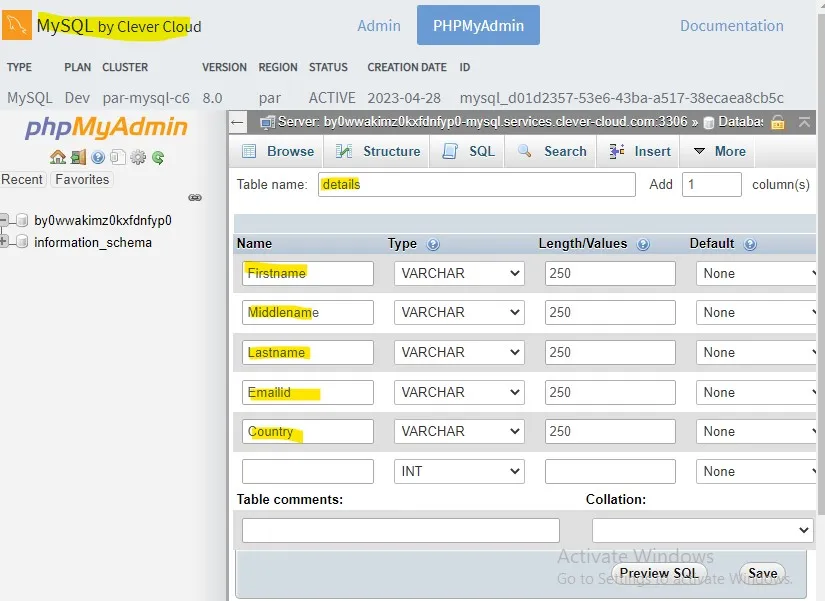
6Sql–query for bulk insert:
- Write the sql query to insert the data into the database
INSERT INTO details (Firstname,Middlename,Lastname,Emailid,Country) VALUES (:firstname,:middlename,:lastname,:emailid,:country)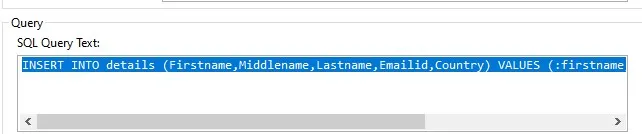
7Deployment and Test Execution
- Save and deploy the application, after successful deployment Hit the url from Postman
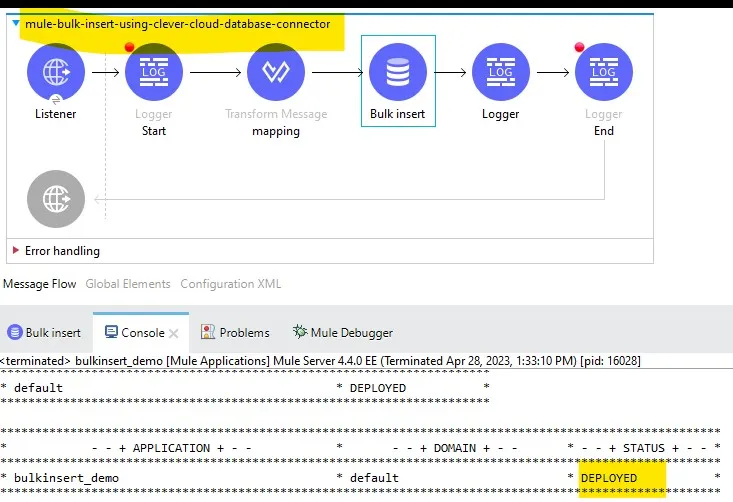
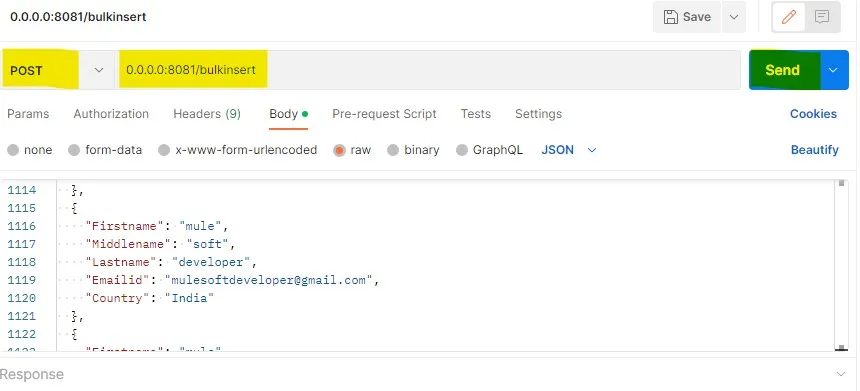
Test Result:
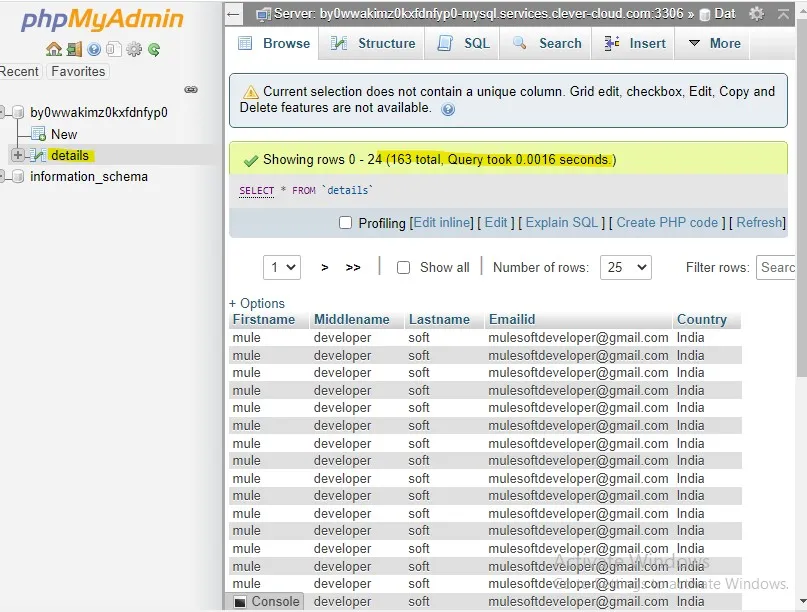
Database Table is now having 163 records.
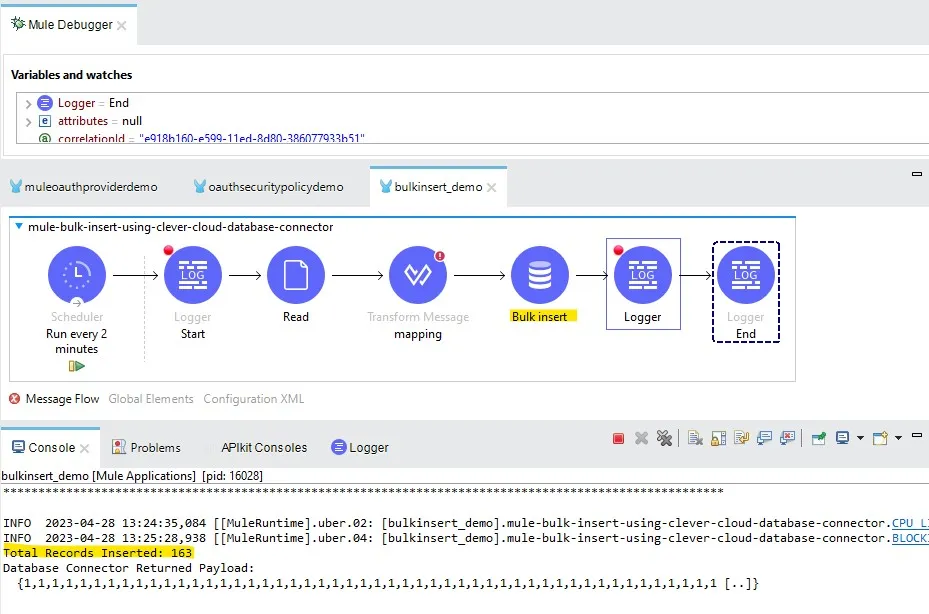
Conclusion
In this tutorial, we demonstrated the end-to-end implementation of the Mule 4 Database Connector Bulk Insert operation. By processing a structured JSON payload of people records, mapping attributes via DataWeave, configuring a cloud-hosted MySQL database on Clever Cloud, and executing the bulk query, we achieved efficient, high-throughput database batch insertion with full transaction verification.

“Thank you for taking out time to read the above post. Hope you found it useful. In case of any questions, feel free to comment below. Also, if you are keen on knowing about a specific topic, happy to explore your recommendations as well.”

Vinay Kumar Theetla
Integration and API Security Specialist at DigitalBuzz Software, experienced in MuleSoft Anypoint Platform, Cloudhub architectures, database integrations, and high-throughput enterprise pipelines.
Related Articles
All ArticlesOAUTH 2.0 IMPLEMENTATION USING MULE OAUTH2 PROVIDER
Create and deploy Mule OAuth 2.0 Provider using CLIENT_CREDENTIALS grant type and secure APIs.
Connecting Salesforce with MuleSoft
To Connect Salesforce with MuleSoft first you need to create an account on salesforce.com